
New Drywall Installed Ready for Paint
Drywall installation in Vernonia for walls and ceilings requiring new sheet installation, taping, and finished seams
Many older homes in Vernonia were built during an era when plaster walls were standard, and when those properties are updated or renovated, the transition to modern drywall requires precise installation to avoid the seam telegraphing and surface irregularities that show up immediately under paint. Caballero General Construction, LLC performs drywall installation in Vernonia across both new installation and replacement scenarios, handling the full sequence from sheet installation through taping, mudding, and finish preparation so the surface is ready to accept paint without additional prep by another contractor.
The process begins with a wall assessment to determine exactly how much new installation is needed versus how much of the existing surface can remain. Drywall sheets are installed and fastened, seams are taped and mudded, and the surface goes through multiple rounds of sanding to bring joints flush with the surrounding face paper. The finished surface is primed and handed off ready for paint. Price includes materials, labor, and all finish preparation; clients provide access and clear work areas before the crew arrives.
If you have walls or ceilings in need of new drywall, contact Caballero General Construction, LLC to walk through the scope and get an accurate assessment of what the installation involves..
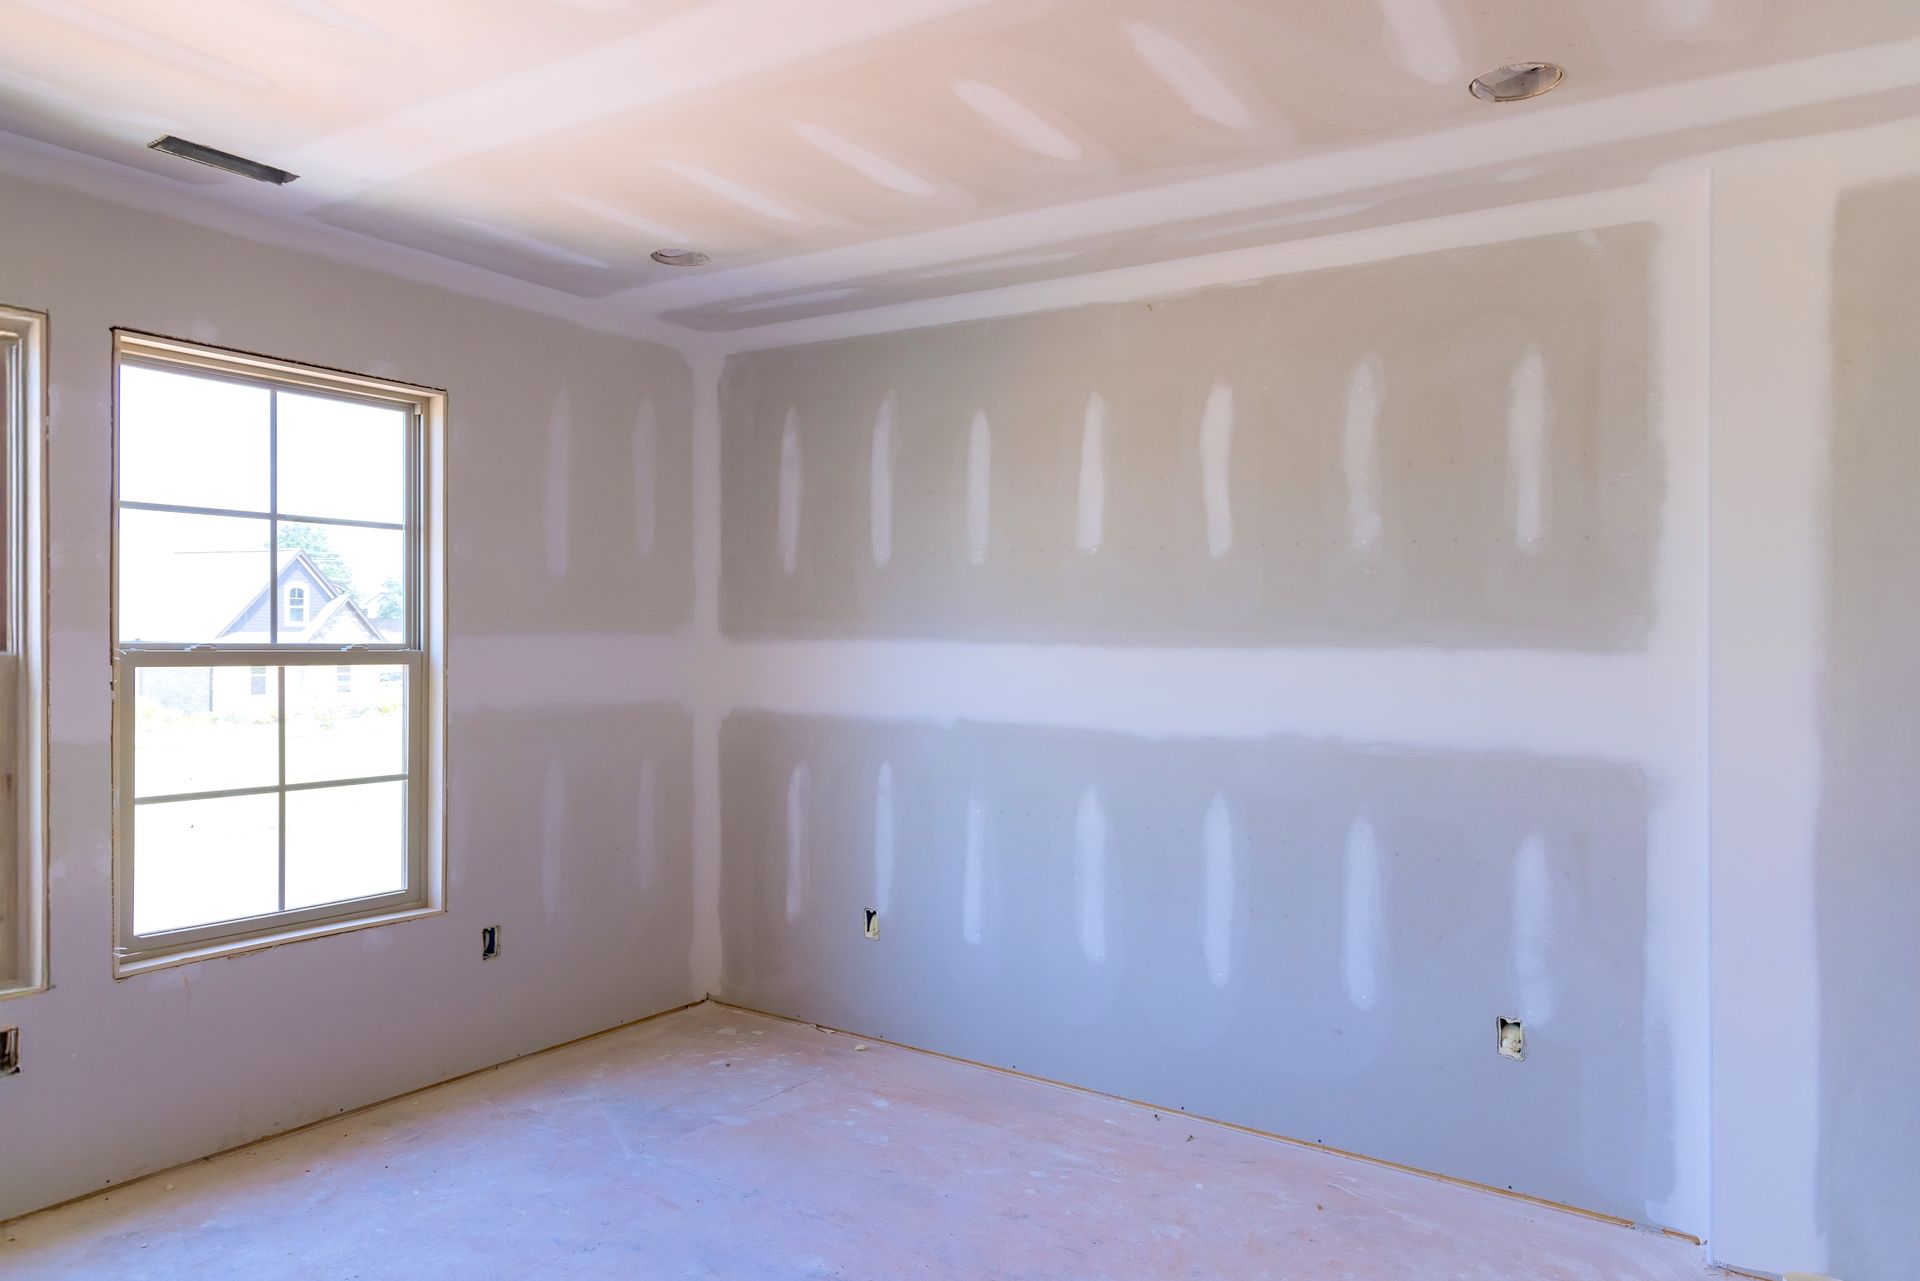
What Proper Drywall Installation Requires at Each Stage
Sheet placement is one of the first decisions that affects the finished result. Hanging drywall horizontally on walls rather than vertically reduces the number of butt joints—the harder-to-finish joints where the non-tapered edges of two sheets meet—which directly reduces how much mud work is needed to achieve a flat surface. On ceilings, sheets are fastened to minimize sag risk, with fastener spacing and sheet thickness selected based on framing span. In older Vernonia homes with non-standard framing layouts from earlier construction eras, those decisions are made in the field based on what the wall cavity actually shows.
Once the work is finished, walls and ceilings will show a flat, consistent surface with no visible ridges at seams under raking light, and corner bead will sit flush at all outside corners with no protrusion that would cause paint to crack at the edge. The primed surface will accept paint evenly without the blotchy absorption pattern that appears when drywall compound and face paper are left unprimed. Caballero General Construction, LLC backs all drywall installation with a two-year warranty and no-cost callbacks.
The number of mud coats required to achieve a level-five finish—the smoothest finish level, required before high-sheen paint—is determined by the condition of the seams after taping. Standard finish levels for most interior walls are level four, which involves three mud coats total, but rooms with dramatic lighting or high-sheen paint benefit from the additional skim coat that brings the surface to level five. That decision is made during the finishing stage based on how the surface reads after the first rounds of sanding.
Answers About How Drywall Installation Is Done
These questions cover the practical steps and decisions involved in drywall installation work, including how sheet layout, seam finishing, and surface preparation affect the result—particularly relevant for older Vernonia properties
undergoing renovation or repair.
What determines whether drywall is hung horizontally or vertically?
Sheet orientation is chosen to minimize butt joints, which are the most difficult joints to finish flat because both edges lack the factory taper that gives mud room to feather out. Horizontal hanging on standard 8-foot walls places the butt joints near the floor and ceiling where they're less visible, while vertical hanging increases the number of exposed butt joints in the center of the wall.
How many coats of joint compound are required to finish seams?
Standard seam finishing involves a tape coat to embed the mesh or paper tape, a filler coat to build the joint level with the surrounding surface, and a finish coat to eliminate any remaining ridges before sanding. Each coat must dry fully before the next is applied, so skipping or compressing coats results in shrinkage cracks as the compound continues to dry under the finished surface.
When is level-five finish required rather than level four?
Level-five finish is appropriate when the final paint will be a high-sheen product—eggshell or higher—or when the room has strong raking light from windows or fixtures that would make seam variation visible. Achieving level five requires a full skim coat over the entire surface after sanding, not just additional coats at the seams.
How does existing framing condition in older Vernonia homes affect new drywall installation?
Older homes in Vernonia sometimes have framing that has moved or settled out of plane, which creates a wavy surface if drywall is fastened directly to it without shimming or furring. Identifying out-of-plane framing before hanging is part of the wall assessment, because correcting it before installation is far simpler than trying to address it through mud work alone.
What should a finished and primed drywall surface look like before painting begins?
The surface should appear flat under both direct and raking light with no visible seam ridges, fastener dimples, or compound buildup at corners. The primer coat should show a consistent matte surface with no glossy patches at seams or blotchy spots where bare compound absorbed the primer unevenly.
Caballero General Construction, LLC is a family-owned, licensed, and insured contractor with 17 years in the construction trade and a two-year warranty on all drywall installation work. Caballero General Construction, LLC also performs
drywall installation in Hillsboro, Beaverton, Portland, Tigard, and Lake Oswego. Call (971) 344-4646 to arrange a wall assessment and review the full scope of your installation project.